Introduction
Welcome to the definitive guide to using OBS Studio on Mac. Designed to help both newcomers and experienced users alike, this guide will cover every aspect of OBS Studio Mac, from basic setup to advanced configurations. By the end of this post, you’ll be fully equipped to make the most of this powerful streaming and recording tool, ensuring that your broadcasts look professional and run smoothly on your Mac systems.

OBS Studio Overview
What is OBS Studio?
Open Broadcaster Software (OBS) Studio is a free and open-source software for video recording and live streaming. Renowned for its versatility, OBS Studio allows content creators to produce high-quality streams with comprehensive features like scene composition, custom transitions, and audio mixer with per-source filters.
Key Features of OBS Studio for Mac
When it comes to OBS Studio for Mac, users can enjoy:
- High-Performance Real-Time Video/Audio Capture and Mixing: Create scenes from multiple sources, including webcams, images, text, browser windows, and more.
- Intuitive Audio Mixer: With filters such as noise gate, noise suppression, and gain included.
- Powerful Configuration Options: To tweak every aspect of your broadcast or recording.
- Streamlined Settings Panel: Gives you access to a wide array of configurations but maintains an easy-to-navigate interface.
- Modular ‘Dock’ UI: Allows you to rearrange the layout to your liking.

Getting Started with OBS Studio on Mac
System Requirements for OBS Studio on Mac
Before diving into the exciting world of OBS, it’s vital to ensure that your Mac meets the system requirements. Generally, you’ll need:
- macOS 10.13 High Sierra or newer.
- An Intel CPU (i5 or better) or Apple silicon.
- At least 4GB of RAM.
How to Download and Install OBS Studio on Mac
To get OBS Studio Mac running:
- Visit the official OBS Studio website.
- Navigate to the download page and select the macOS version.
- Follow the on-screen instructions to install the software.
First-time Setup for OBS Studio on a Mac
Upon launching OBS Studio for the first time, you’ll be greeted by the Auto-Configuration Wizard. This tool helps you set up for either optimal streaming or recording settings. For streaming, ensure you have your stream key from your preferred streaming platform at hand.
Configuring OBS Studio Settings on Your Mac
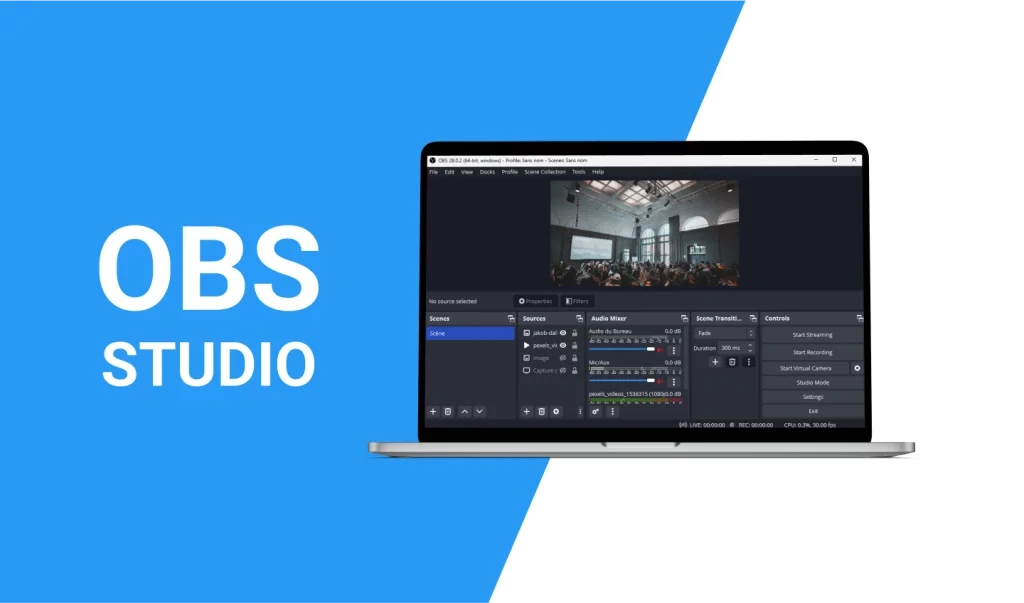
Overview of OBS Studio Interface on Mac
OBS Studio’s interface on Mac is divided into five primary areas:
- Scenes: Where you manage your different streaming setups.
- Sources: Which are the individual elements within a scene.
- Audio Mixer: To control and fine-tune audio input and output.
- Transitions: To smoothly switch between scenes.
- Controls: The dashboard for starting/stopping streams or recordings.
Best Video and Audio Settings for Mac Users
The optimal settings for video typically include:
- Base Resolution: The same as your monitor for a high-definition stream.
- Output Resolution: Lower if you have bandwidth concerns or an older Mac.
- FPS: 30 for standard streams, 60 for high-motion content.
For audio, keep defaults unless you have specific audio equipment, in which case, select the appropriate interfaces and test levels for balance and clarity.

Adding Sources and Scenes in OBS Studio on Mac
Creating a new scene is as simple as clicking the “+” button under the Scenes box, and the same goes for sources. A standard setup might include:
- Game Capture or Display Capture for your main content.
- Video Capture Device for your webcam.
- Window Capture for any additional applications.
Stream Management with OBS Studio on Mac
Managing your stream involves balancing the encoding load, monitor bandwidth, and engagement with your audience. Always run a few tests before going live to ensure everything is working as expected.
Advanced Features and Tips for OBS Studio on Mac
Using Plugins with OBS Studio on Mac
Plugins can vastly enhance OBS functionality. Some favorites include:
- Stream Effects: Adds filters and transition effects.
- OBS Websocket: Allows for remote control of OBS Studio.
To install, download the plugin, unzip if needed, and place it in the OBS plugins directory, often located in ~/Library/Application Support/obs-studio/plugins/.
Multi-Output Setup for Mac Users
Multi-output can be essential for streamers requiring simultaneous streams to different platforms. Within OBS, set up unique stream keys and server information under ‘Settings’ > ‘Stream’, and use a service like Restream to broadcast to multiple platforms at once.
Enhancing Performance: Tips & Tricks
To ensure OBS Studio runs optimally:
- Use a Wired Internet Connection: For stability over WiFi.
- Close Unnecessary Programs: To free up system resources.
- Adjust Your Encoder Settings: Try the hardware-accelerated encoders available on Mac like Apple VT H264 Hardware Encoder for improved performance.
Troubleshooting Common OBS Studio Issues on Mac
Solving Audio Sync Problems in OBS Studio
Audio out of sync? Adjust the audio delay in ‘Advanced Audio Properties’. A few milliseconds might be all that’s needed.
Dealing with Lag and Encoding Overload on Mac
If you’re experiencing lag or encoding overloads, reduce your output resolution or frames per second (FPS). You may also consider upgrading your Mac’s hardware if consistently encountering these issues.
Mac-Specific Fixes for OBS Studio
A typical Mac-specific issue could be related to screen capture permissions after an update. To fix this, grant OBS the necessary permissions in ‘System Preferences’ under ‘Security & Privacy’.

Comparing OBS Studio with Other Mac-Compatible Software
OBS Studio vs. Other Streaming Apps for Mac
Popular alternatives to OBS Studio include Wirecast and Streamlabs. While these offer different interfaces and features, OBS Studio maintains an edge in customizability and price (free).
OBS Studio for Mac is chosen for its robust feature set and customization abilities. Its strong community and open-source nature also mean continuous updates and a wealth of plugins and resources.
Conclusion
OBS Studio remains a top choice for Mac users looking to engage in professional streaming and recording. With thorough preparation and knowledge of its powerful tools and features, you’re well on your way to producing high-quality content.


